Difference between revisions of "Import From ORCID"
(→Technical Details) |
(→User Guide) |
||
| Line 11: | Line 11: | ||
The metadata describing each work may include a ''work-citation-format'' (for example, BIBTEX) and/or multiple ''work-external-identifier-type'' (for example, DOI, PMID) elements - where the ''work-citation-format'' or ''work-external-identifier-type'' can be mapped to an EPrints import plugin an Import option is displayed next to the work. | The metadata describing each work may include a ''work-citation-format'' (for example, BIBTEX) and/or multiple ''work-external-identifier-type'' (for example, DOI, PMID) elements - where the ''work-citation-format'' or ''work-external-identifier-type'' can be mapped to an EPrints import plugin an Import option is displayed next to the work. | ||
| − | == | + | == For Administrators: Testing the Concept == |
1. After installing, an ORCID button appears on the Admin screen. | 1. After installing, an ORCID button appears on the Admin screen. | ||
Revision as of 11:06, 14 March 2014
Overview
Import from ORCID is a simple plugin for EPrints that demonstrates how publications could be imported into EPrints for a given author identified by an ORCID.
The plugin demonstrates how an EPrints repository can interface with the ORCID Tier 1 (public) API.
For Developers: Technical Details
Given an author's ORCID, the plugin queries the ORCID Tier 1 API and retrieves a list of works published by that author in JSON format.
The metadata describing each work may include a work-citation-format (for example, BIBTEX) and/or multiple work-external-identifier-type (for example, DOI, PMID) elements - where the work-citation-format or work-external-identifier-type can be mapped to an EPrints import plugin an Import option is displayed next to the work.
For Administrators: Testing the Concept
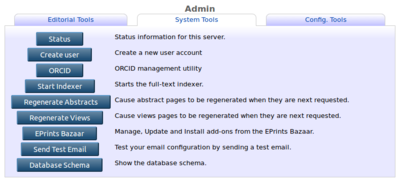
1. After installing, an ORCID button appears on the Admin screen.
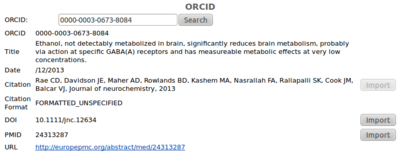
2. Enter an author's ORCID to search for their published works.
3. Search results retrieved and listed with import options where available.
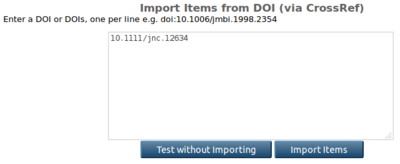
4. Clicking Import takes you to the default EPrints import screen.
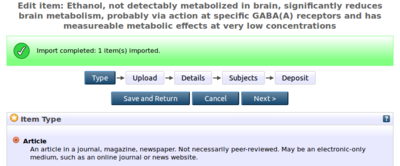
5. After importing the item, you are taken to the deposit workflow where you can edit and deposit the item.


