Difference between revisions of "Import From ORCID"
(→User Guide) |
(→User Guide) |
||
| Line 6: | Line 6: | ||
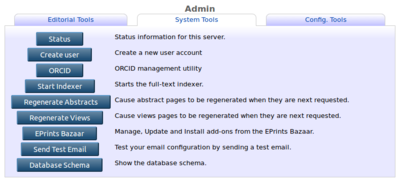
1. After installing, an ORCID button appears on the Admin screen. | 1. After installing, an ORCID button appears on the Admin screen. | ||
| − | [[File:import_from_orcid_admin.png|400px|thumb| | + | [[File:import_from_orcid_admin.png|400px|thumb|none]] |
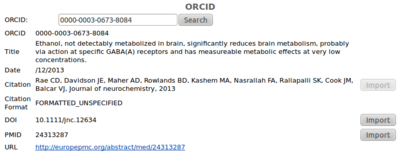
2. Enter an ORCID to search for published works. | 2. Enter an ORCID to search for published works. | ||
| − | [[File:import_from_orcid_enter_orcid.png|400px|thumb| | + | [[File:import_from_orcid_enter_orcid.png|400px|thumb|none]] |
3. Search results are listed with import options where available (import from DOI or import from PubMed ID). | 3. Search results are listed with import options where available (import from DOI or import from PubMed ID). | ||
| − | [[File:import_from_orcid_search_results.png|400px|thumb| | + | [[File:import_from_orcid_search_results.png|400px|thumb|none]] |
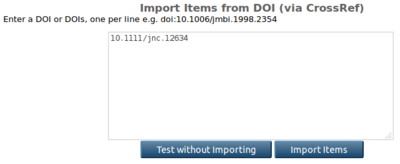
4. Clicking Import takes you to the standard Import screen. | 4. Clicking Import takes you to the standard Import screen. | ||
| − | [[File:import_from_orcid_import.png|400px|thumb| | + | [[File:import_from_orcid_import.png|400px|thumb|none]] |
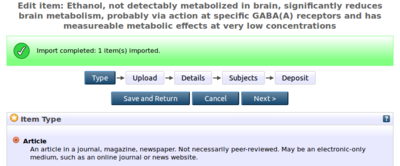
5. After importing the item, you are taken to the deposit workflow where you can edit and deposit the item. | 5. After importing the item, you are taken to the deposit workflow where you can edit and deposit the item. | ||
| − | [[File:import_from_orcid_edit_item.png|400px|thumb| | + | [[File:import_from_orcid_edit_item.png|400px|thumb|none]] |
Revision as of 10:31, 14 March 2014
Overview
User Guide
1. After installing, an ORCID button appears on the Admin screen.
2. Enter an ORCID to search for published works.
3. Search results are listed with import options where available (import from DOI or import from PubMed ID).
4. Clicking Import takes you to the standard Import screen.
5. After importing the item, you are taken to the deposit workflow where you can edit and deposit the item.


